A step-by-step guide for beginners
A step-by-step guide for beginners

If you want to dive into the DeFi ecosystem and invest in any decentralized protocol, you’ll need a cryptocurrency wallet. Wallets are tools, both hardware and software, that allow you to store and send cryptocurrencies, as well as store and manage the private and public keys that give you access to them.
Software wallets are installed on your device, typically through a browser extension, to access online stored assets. Hardware wallets are physical devices that store private keys and connect to a computer to perform transactions.
To understand cryptocurrency wallets, it’s essential to know some key concepts. Firstly, the private key. This key is a series of words used to access the wallet in case you’re not on your usual device or forget your password. It’s crucial to keep it safe, as losing it means losing access to your assets. It’s generally recommended to make several paper copies of this key and keep them in safe places that only you know.
On the other hand, we have the public key. This key is easily accessible through the blockchain. It identifies our wallet to anyone who wants to, for example, send us money. It consists of a series of randomly generated numbers and letters (similar to a bank account’s IBAN). It’s important to note that this key identifies our wallet, but not the physical or legal person behind it.
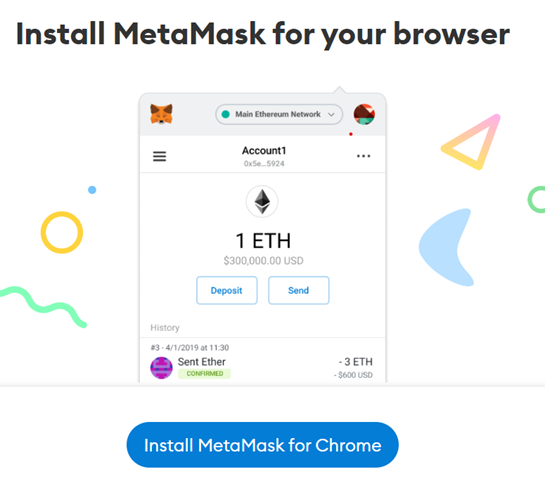
When choosing a software wallet, you’ll find multiple options available. The most commonly used for main blockchains is Metamask. Metamask allows you to store cryptocurrencies on the Ethereum, BSC, Optimism, or Arbitrum blockchain, among many others.
To create your Metamask wallet, follow these simple steps:
Download and install the Metamask extension in your browser. Always make sure you’re downloading files and interacting with official pages of protocols/companies. (https://metamask.io/)
2. Create a new wallet: Once installed, Metamask will guide you to create a new wallet. Click on “Create a wallet” and follow the instructions to set the password. Remember to keep the recovery phrase or secret key safe.
3. It’s important never to share this key with anyone, as they’d have access to all your funds. It’s also advisable not to save this key on electronic devices connected to the internet.
4. Before completing the process, Metamask will ask you to confirm the secret key. Once done, you’ll have your wallet active.
5. By default, the initial blockchain is Ethereum. To interact with your protocol, you’ll need to add the Optimism blockchain. To do this, select the arrow next to the main Ethereum network and click on “Add Network”. Enter the following data:
Network Name: Optimism
New RPC URL: https://mainnet.optimism.io
Chain ID: 10
Symbol: ETH
Block Explorer URL: https://optimistic.ethersacn.io
6. Once the data is entered, click on “Save” to add the new network. You can switch between the Optimism and Ethereum network by clicking on the arrow next to the network’s name.
The creation of a Metamask wallet is a fundamental step for anyone interested in diving into the world of DeFi and cryptocurrencies. By following the simple steps mentioned above, you will be on the right path to storing and sending cryptocurrencies securely and efficiently.
0 comentarios